We’re sure all of you have your Christmas tree up, decorated, and glistening with twinkling lights..
but just in case you are looking for that “extra” pizzazz for your tree,
we tried out this garland from the ever-amazing Purl Bee.
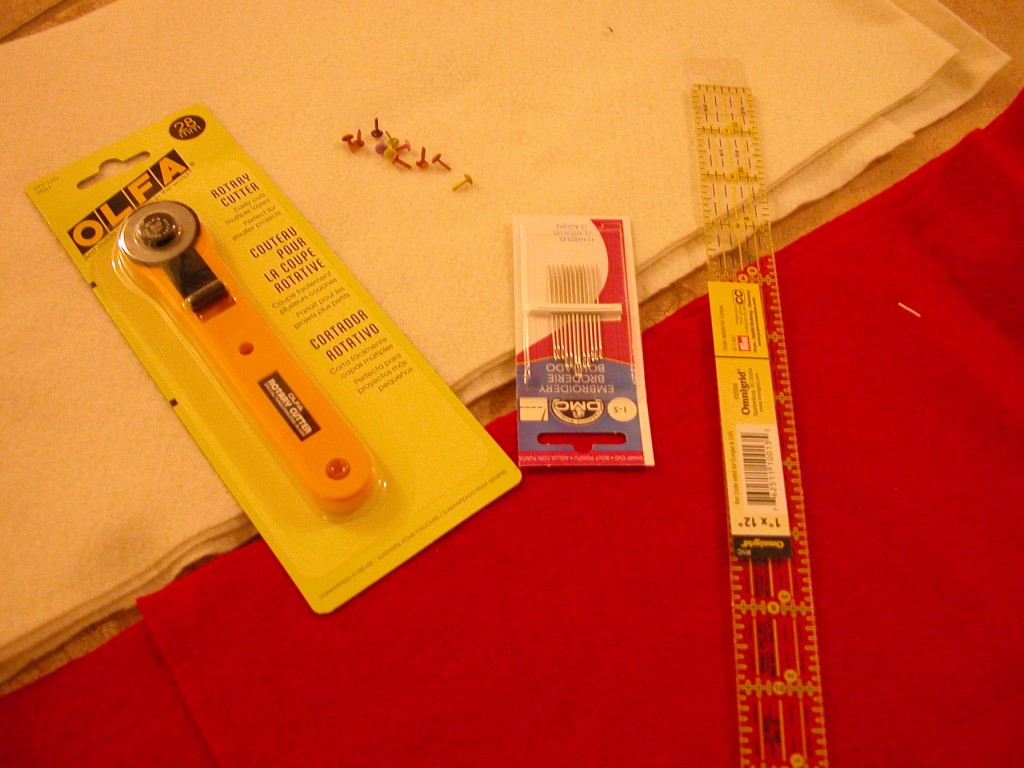
Our Supplies:
1/4 Yard of Red Felt
1/4 Yard of Antique White Felt
A Needle
Rotary Cutter
Ruler
Brads
To begin, cut 1″ strips of the felt. The felt we bought was 72″ wide, so our strips were 1″x72″. The more careful you are in cutting the strips, the easier the rest of the project will be. Once you cut all of the strips (you should have 18 total), layer one red on top of one white so you end up with 9 sets of strips. Place a pin at the top of each set to hold the two colors in place.
Then, using the Rotary Cutter, cut a 2 inch slit through both colors. Move down an inch, and repeat (and so on and so forth). Once all the slits are cut, take the pin out of the top (it should remain in place). Then, holding the longer portion of the 72″ strip, loop the end through the first hole and pull completely through. And you will repeat that step throughout the entire strip as well. Always make sure to go through the same color first the entire length of the strip.
You will end up with something like this:
As you can see, we spread our cuts out a bit more than in the original tutorial- but we were really pleased with how it turned out! Once you make all of your garland strips, you can either sew them together or secure them with brads.
Tada!


