Lucy, you’ve got some ‘splaning to do!
To put it simply, we’re two days behind because of all the hoopla going on around us.
But we wave this incredibly fun project as a white flag:
Salt Dough Ornaments.
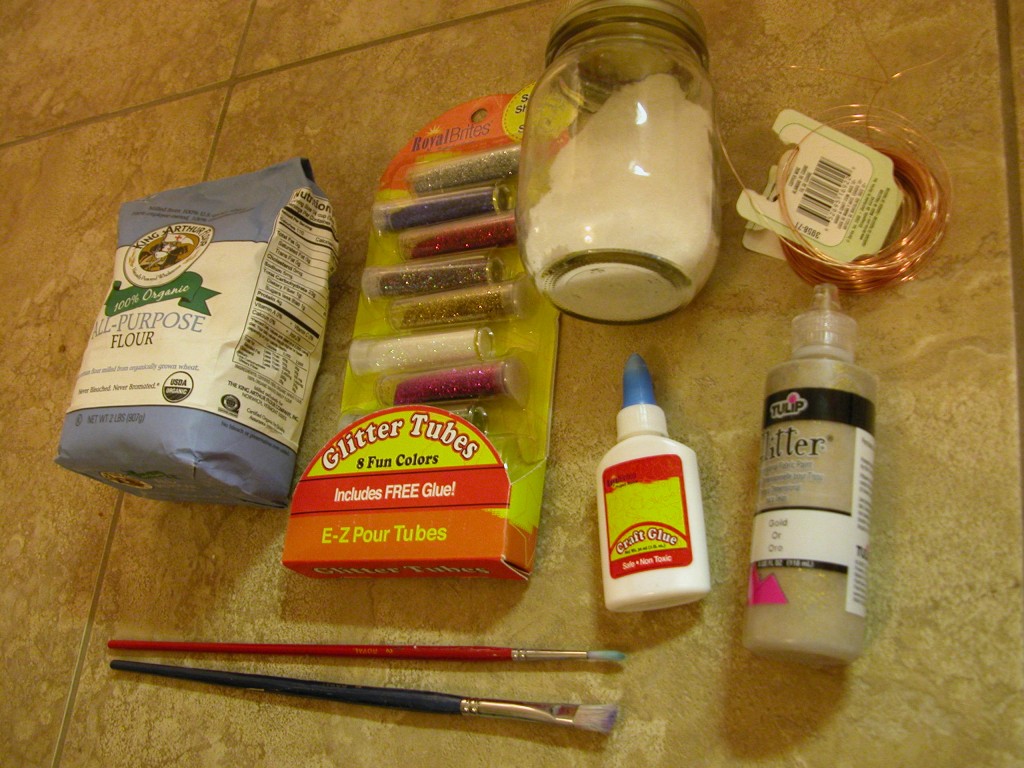
Our Supplies:
For the Dough:
1/2 cup table salt
1/2 cup water
1 cup all purpose flour
Parchment Paper
Cookie Sheet
Whisk
Preheat the oven to 200º. Mix ingredients, and knead the dough for 5-7 minutes until no longer sticky. We added a smidge more flour at the end to remove any stickiness. We then rolled the dough between two pieces of parchment paper and stuck the dough (on a cookie sheet) in the freezer for 10 minutes. This definitely helped cut out the ornament shapes. Don’t forget to put holes for hanging into the shapes (we used a toothpick). We took the dough out of the freezer, cut them into shapes and placed them on a cookie sheet. Cook for 5 hours, flipping all the cookies at the halfway point.
For the decorations:
Elmer’s glue
Glitter
Copper Wire (for hanging)
Acrylic Paint
Paint Brushes
Toothpicks
We simply decorated as desired. A few key pointers: (1) Make sure the glue is even (we used toothpicks to even it out); (2) Apply the darkest shade of glitter to a cookie first and work until you apply the lightest; (3) Hairspray the glittered ornaments after they dry. We liked how some of the ornaments were 3-D (candy canes), but the classic “fake sugar cookie” look as well. We had a fabulous time decorating them, and will be back tomorrow to show you a glimpse of them in action!

We’ll be back with plenty more tomorrow!

